his tutorial follows similar steps as we did in the tutorial Deploy HTML project design using Cloudflare Pages.

Netlify offers more features and pre-configured templates to start from. However, we will use the same steps we followed for Cloudflare Pages to deploy our HTML website on Netlify.
Prerequisite:
It is recommended to follow the Cloudflare Pages tutorial first as it is much easier to follow because of very few options available in the dashboard.
STEP 1
Create the index.html and add some other image and html files. Here is my website code you can start from.
Create a new project on Github or Gitlab. Extract and Upload all the files on that project. The project can be private. The easiest way to do it using the Github Desktop app.
STEP 2
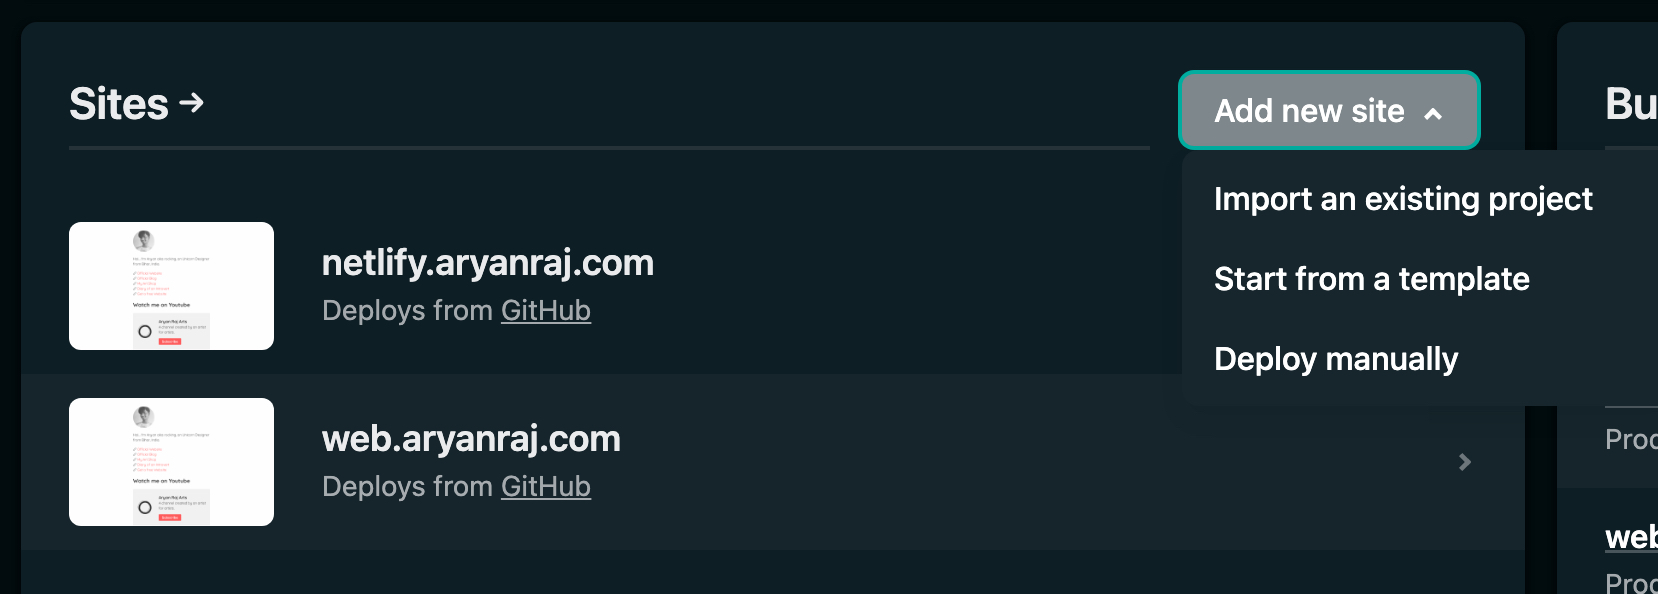
Login to your Netlify account and Click on Add New site > Import an existing Project.
STEP 3
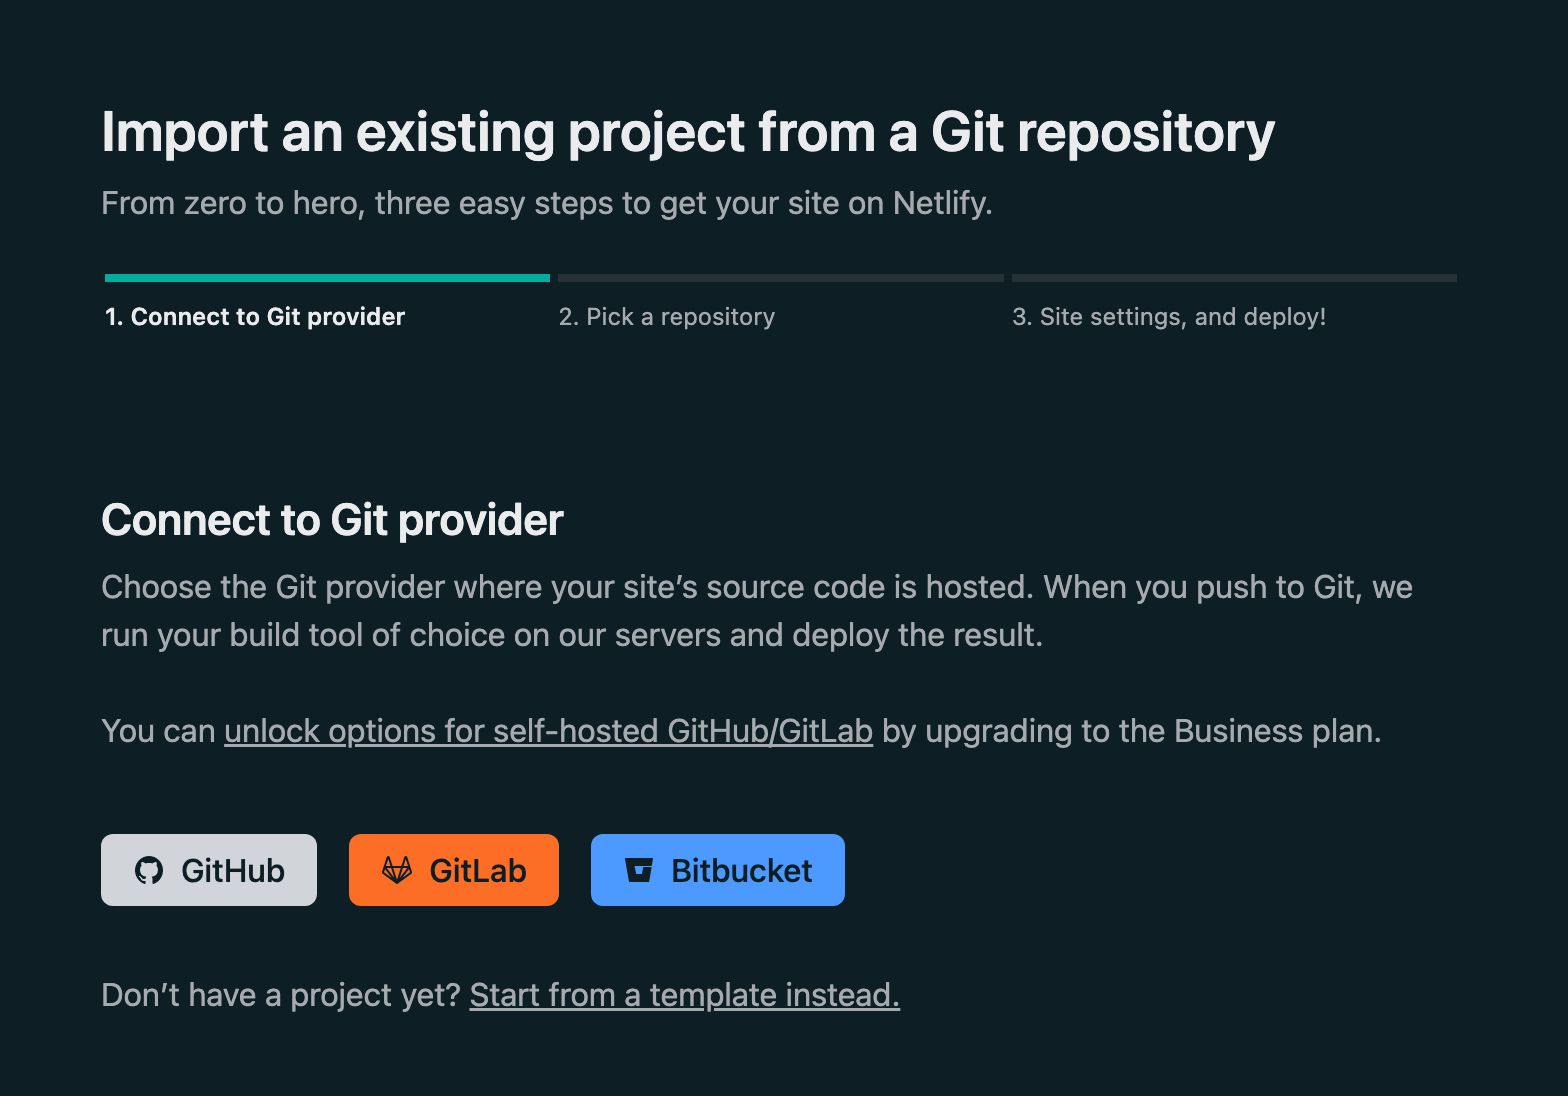
Connect to the Git repository. Authorize and Install the Netlify application.
STEP 4
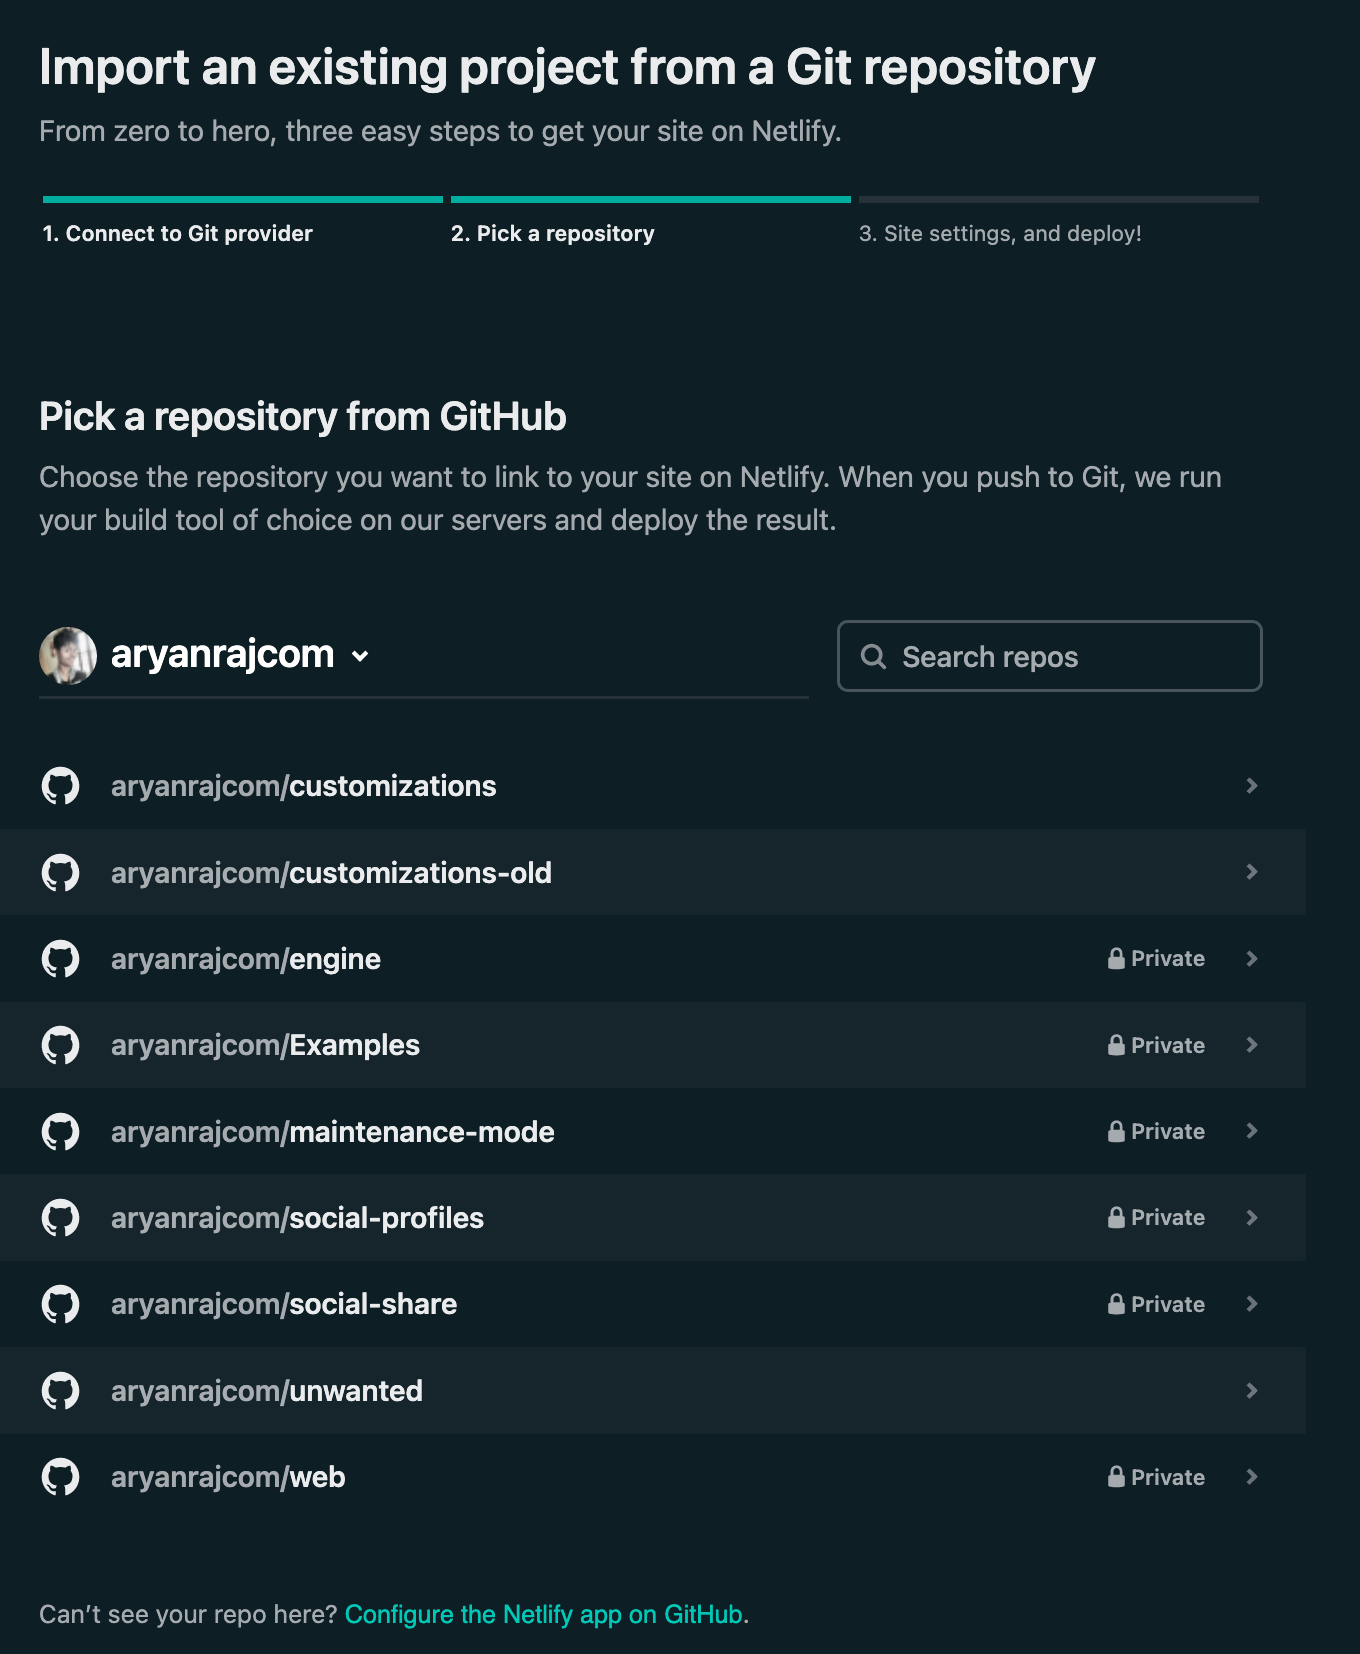
After authorized, pick the repository that you want to use and deploy its content.
STEP 5
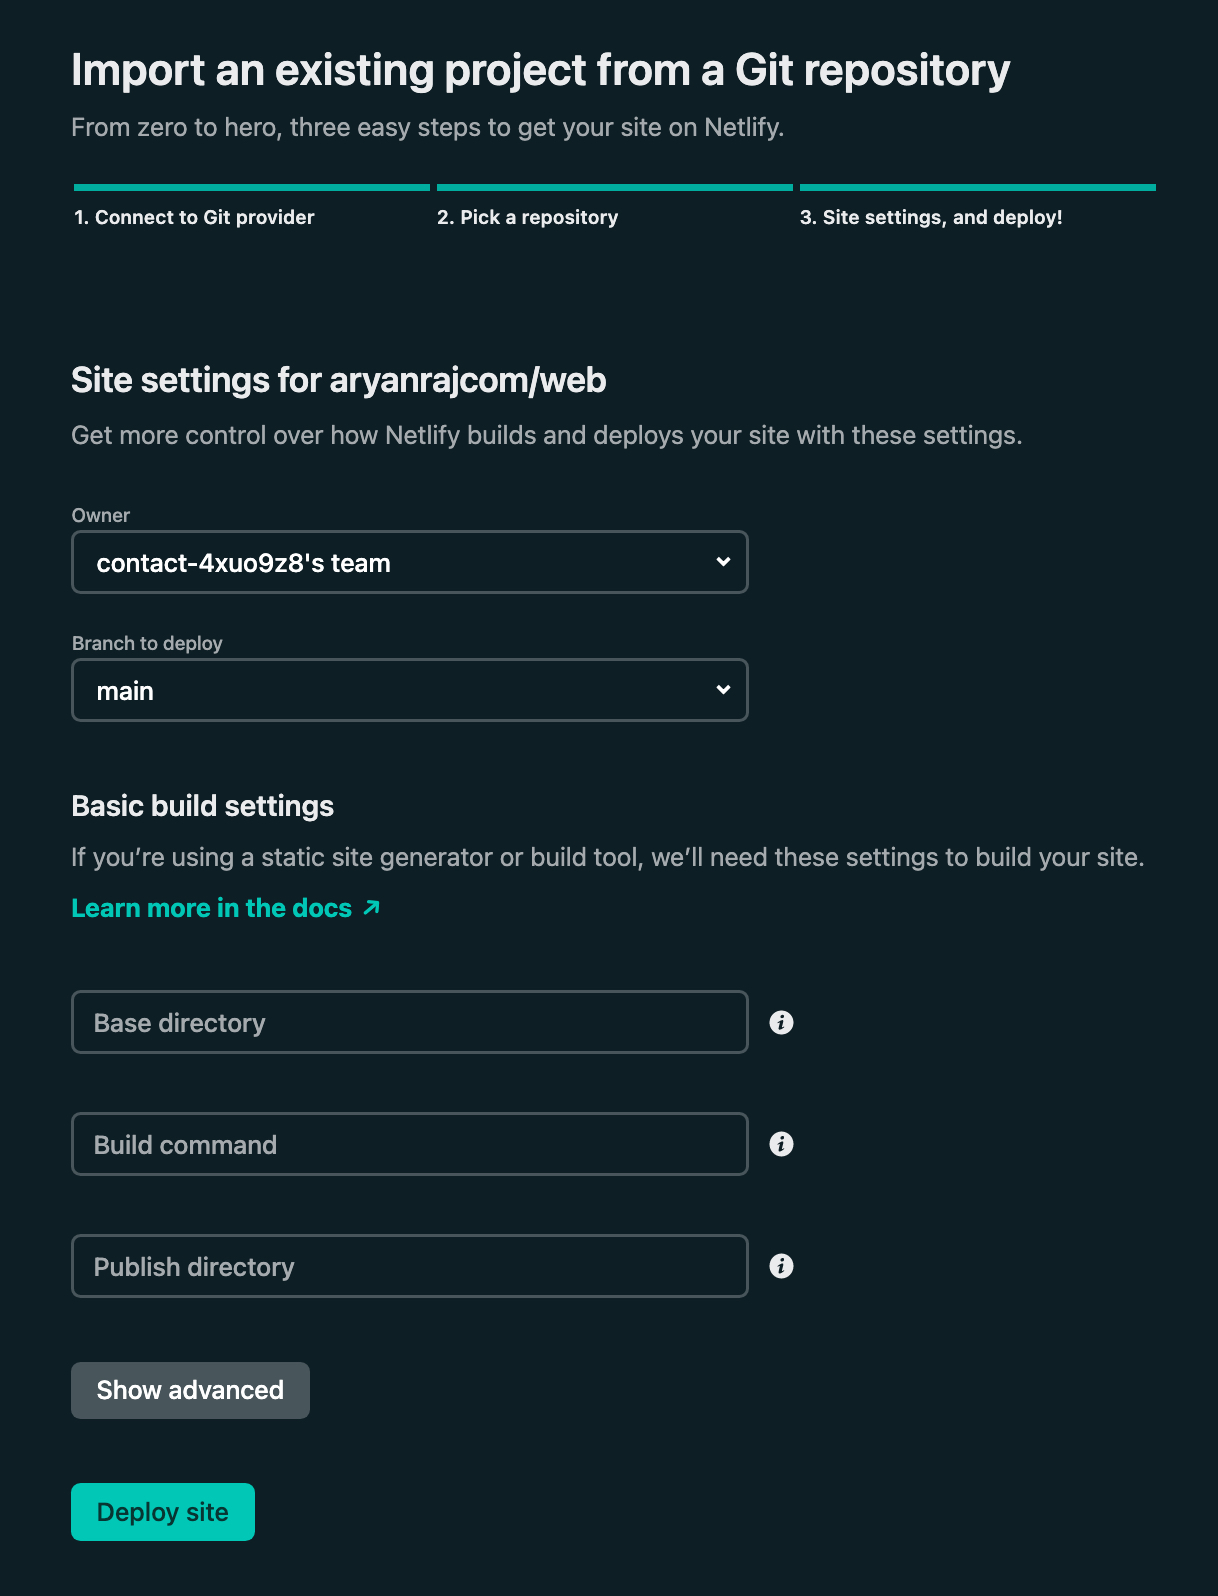
Leave the site settings default as it is and click deploy site.
STEP 6
To add your domain, you will first need to add the hostname for that domain, Here it will be a CNAME, if I want to use netlify.aryanraj.com
CNAME netlify is pointed to the hostname given by Netlify.

The automatic configuration will be done if the domain is hosted with Netlify, similar to what we got in our Cloudflare Pages.
Done.