This tutorial provides the steps to deploy a simple HTML static website on Cloudflare Pages. We will add a custom domain to the website after the deployment.
Here is my website web.aryanraj.com using the Cloudflare Pages.

With the popularity of static and serverless websites, it is really simple to deploy a basic website of different frameworks. In this tutorial, we are creating a simple HTML website and deploying it on Cloudflare Pages which is free to use.
Netlify is the most popular service and similar options available are Vercel, Firebase, Heroku, Github Pages and Render. We can also create a one-page website using S3 storage.
I will cover tutorials for these platforms in near future.
Prerequisite:
You must be aware of the basics of Github and how HTML files work. Make sure to test the code locally before pushing it live.
Step 1
Create the index.html and add some other image and html files. Here is my website code you can start from.
Download the template files.
Create a new project on Github or Gitlab. Extract and Upload all the files on that project. The project can be private. The easiest way to do it using the Github Desktop app.
STEP 2
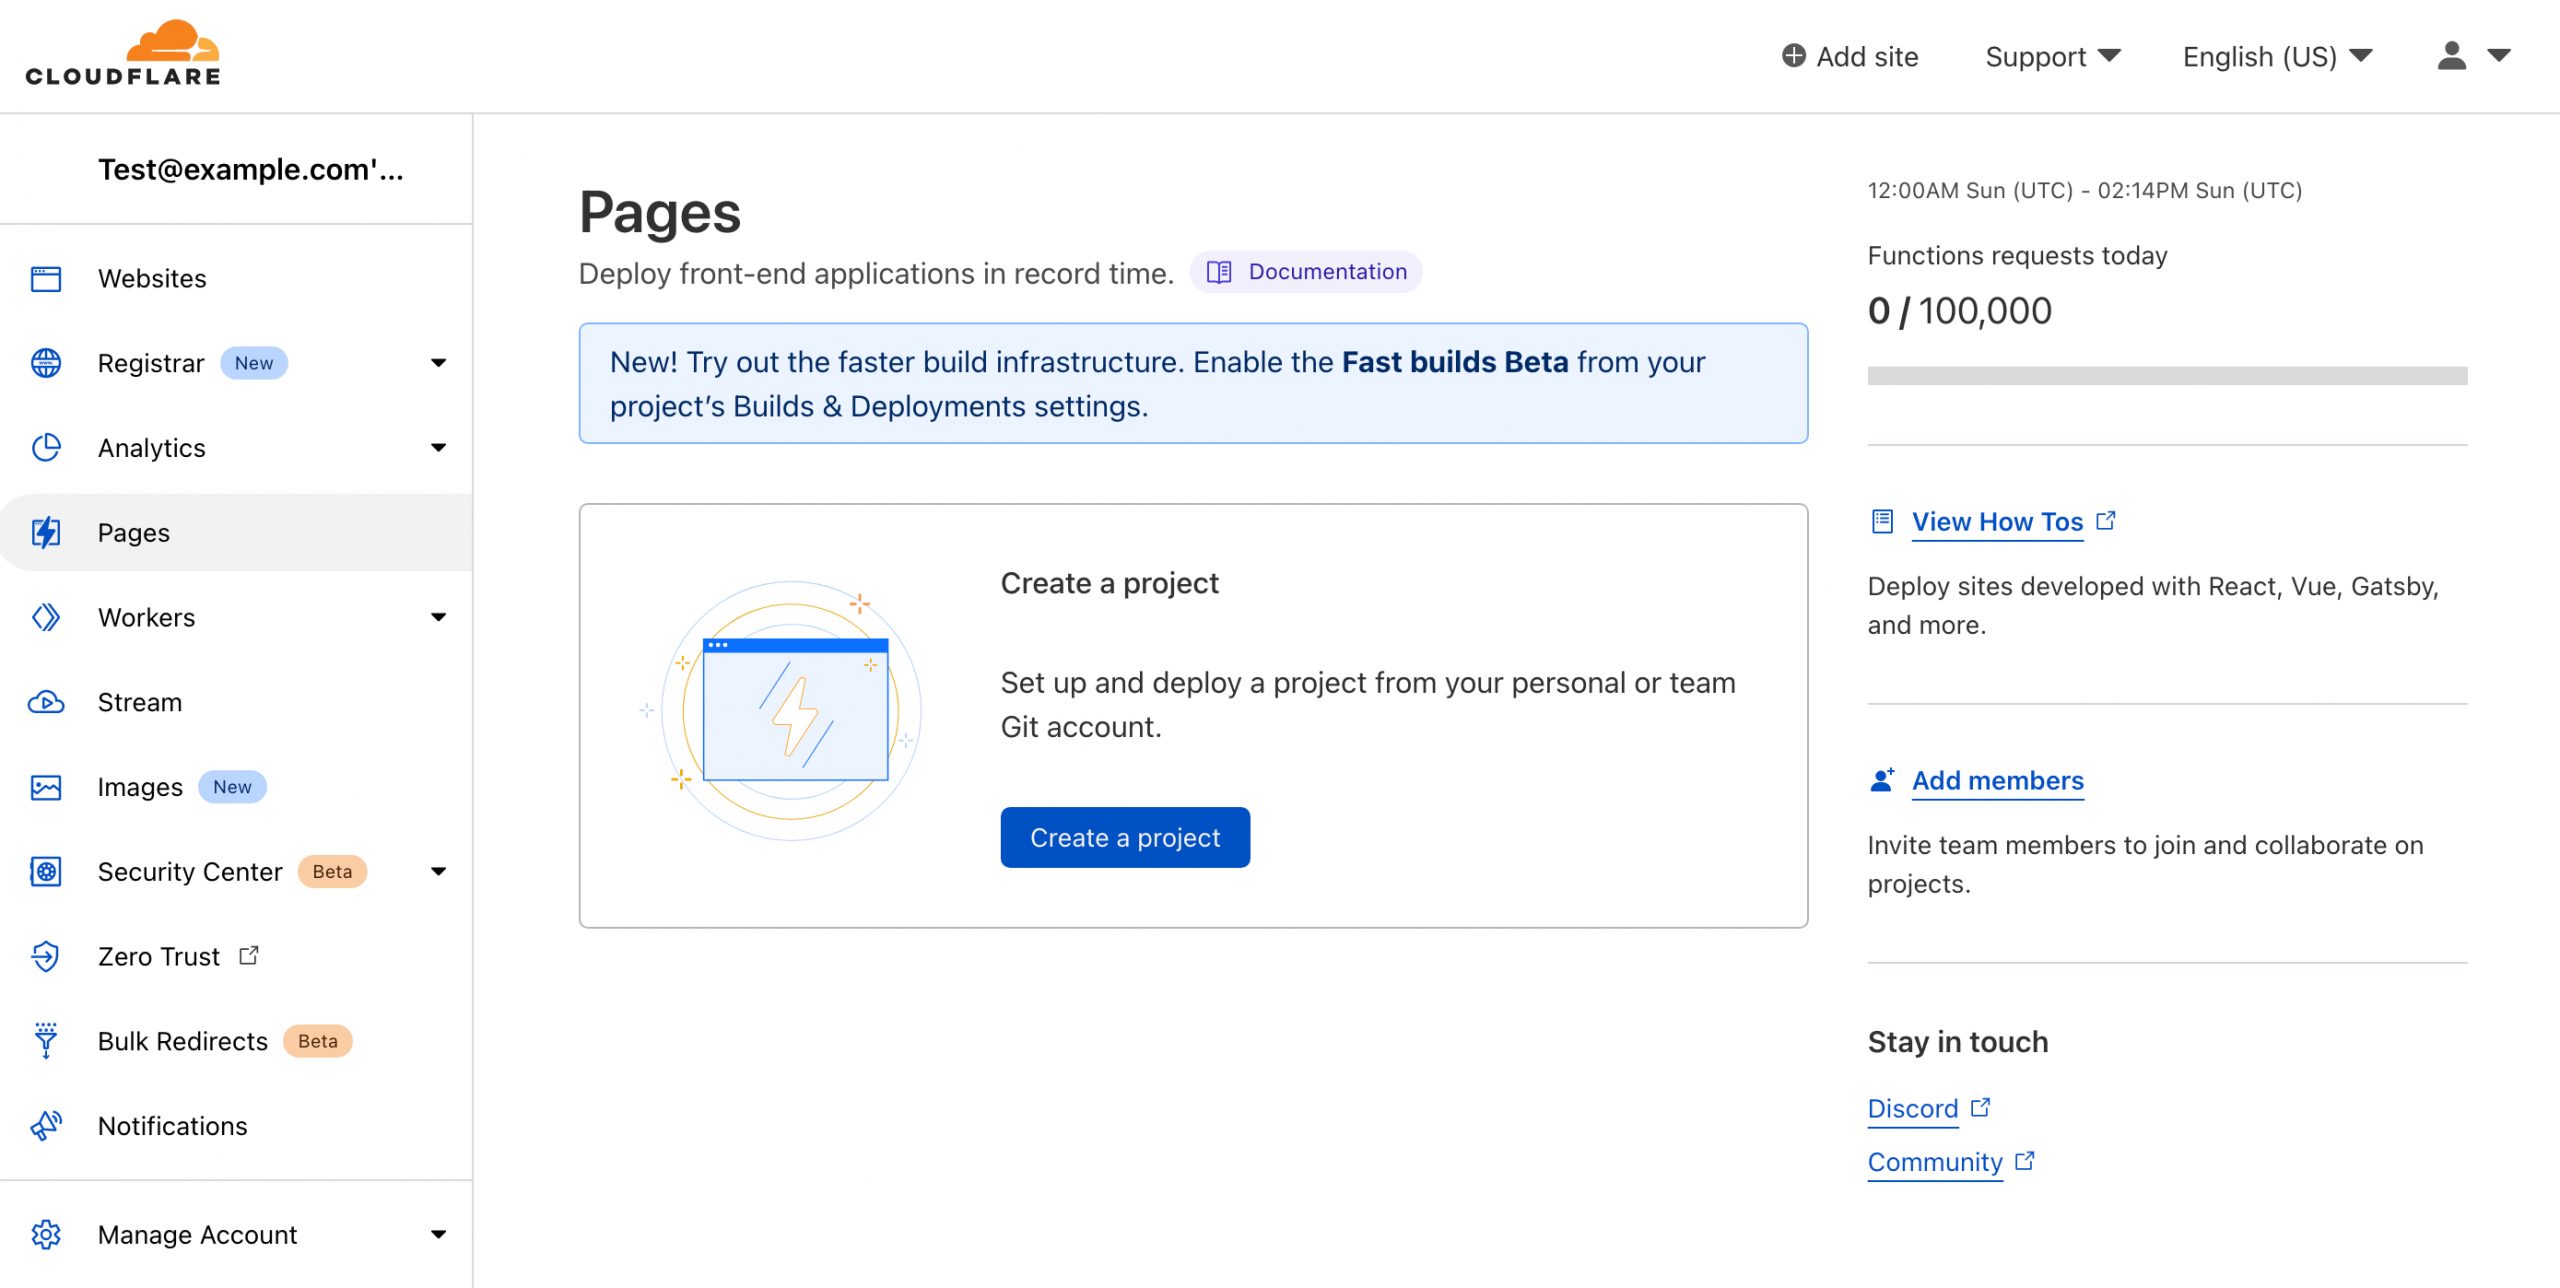
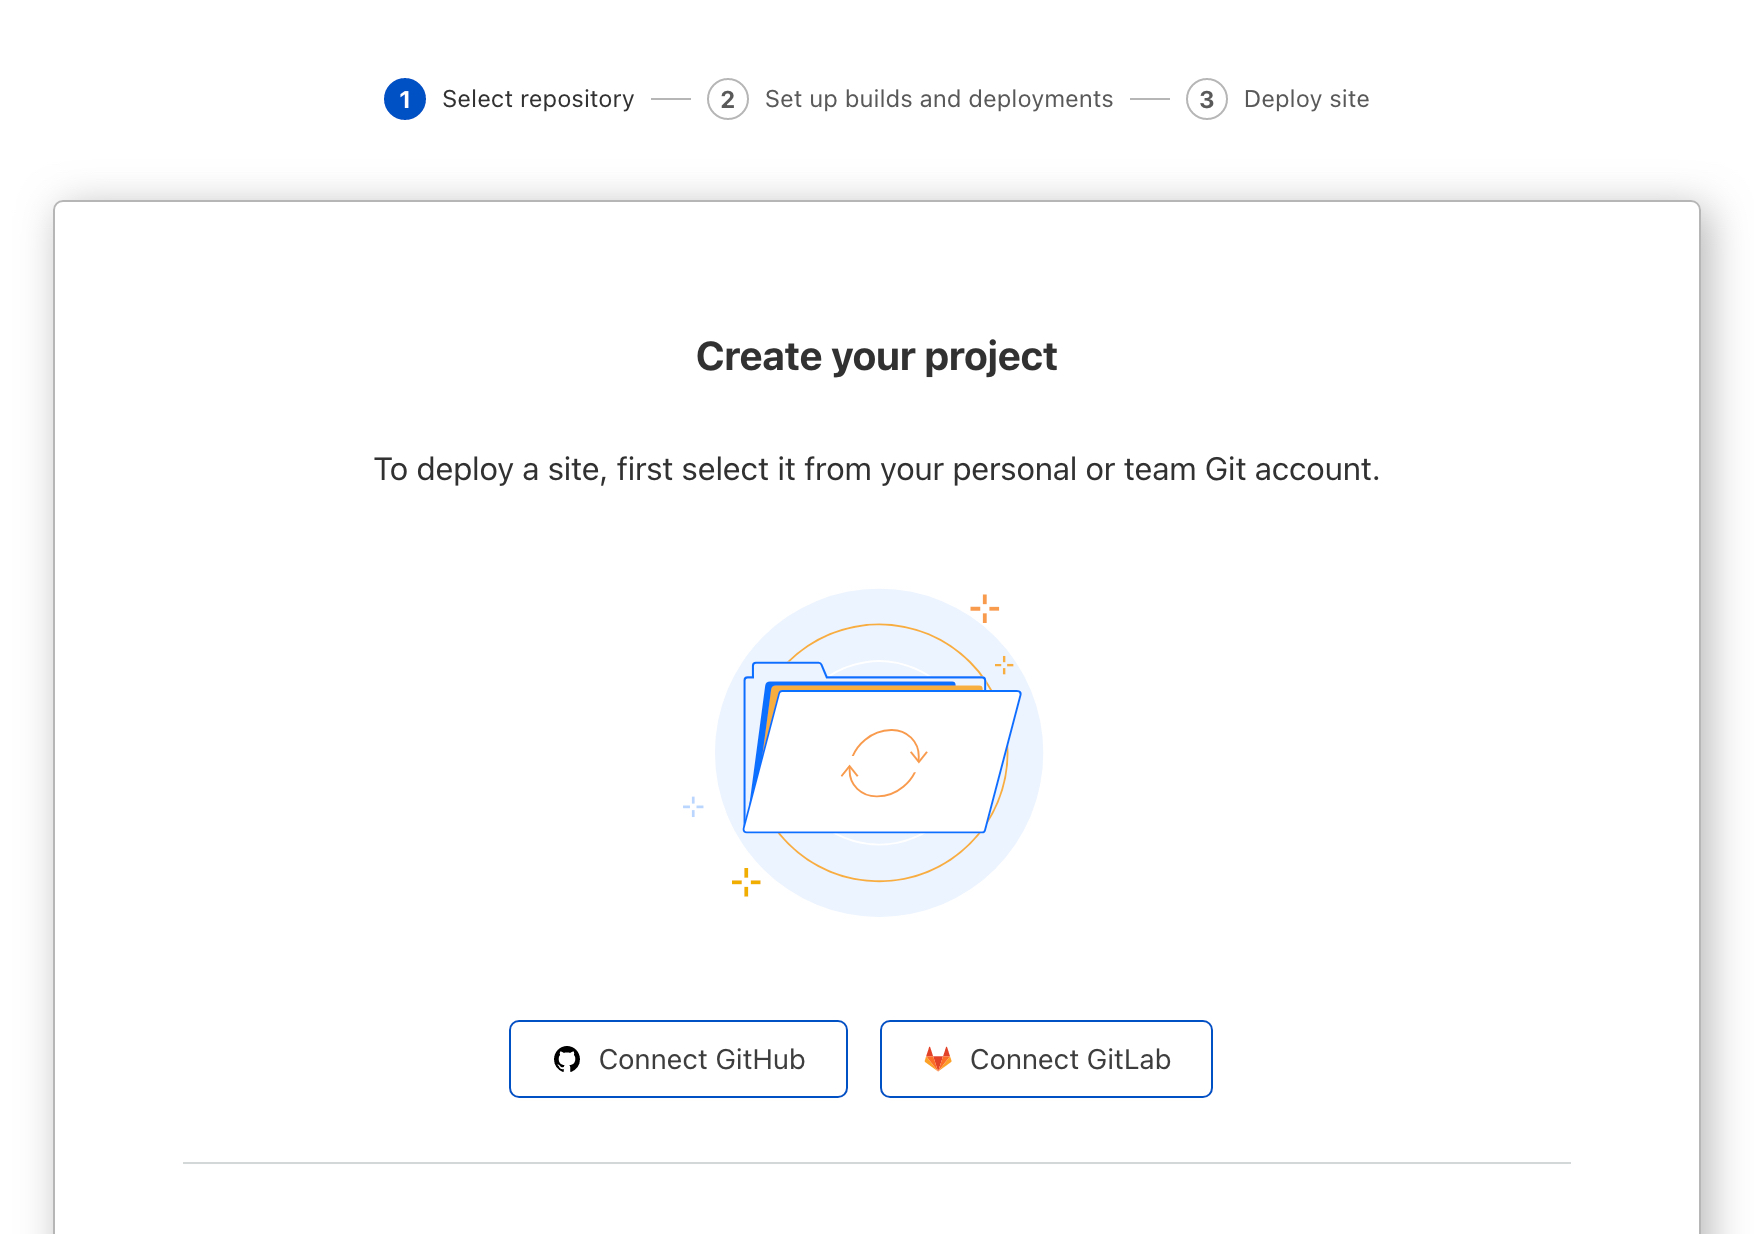
Login to Your Cloudflare Account and head over to the Pages and click on “Create a project”.
STEP 3
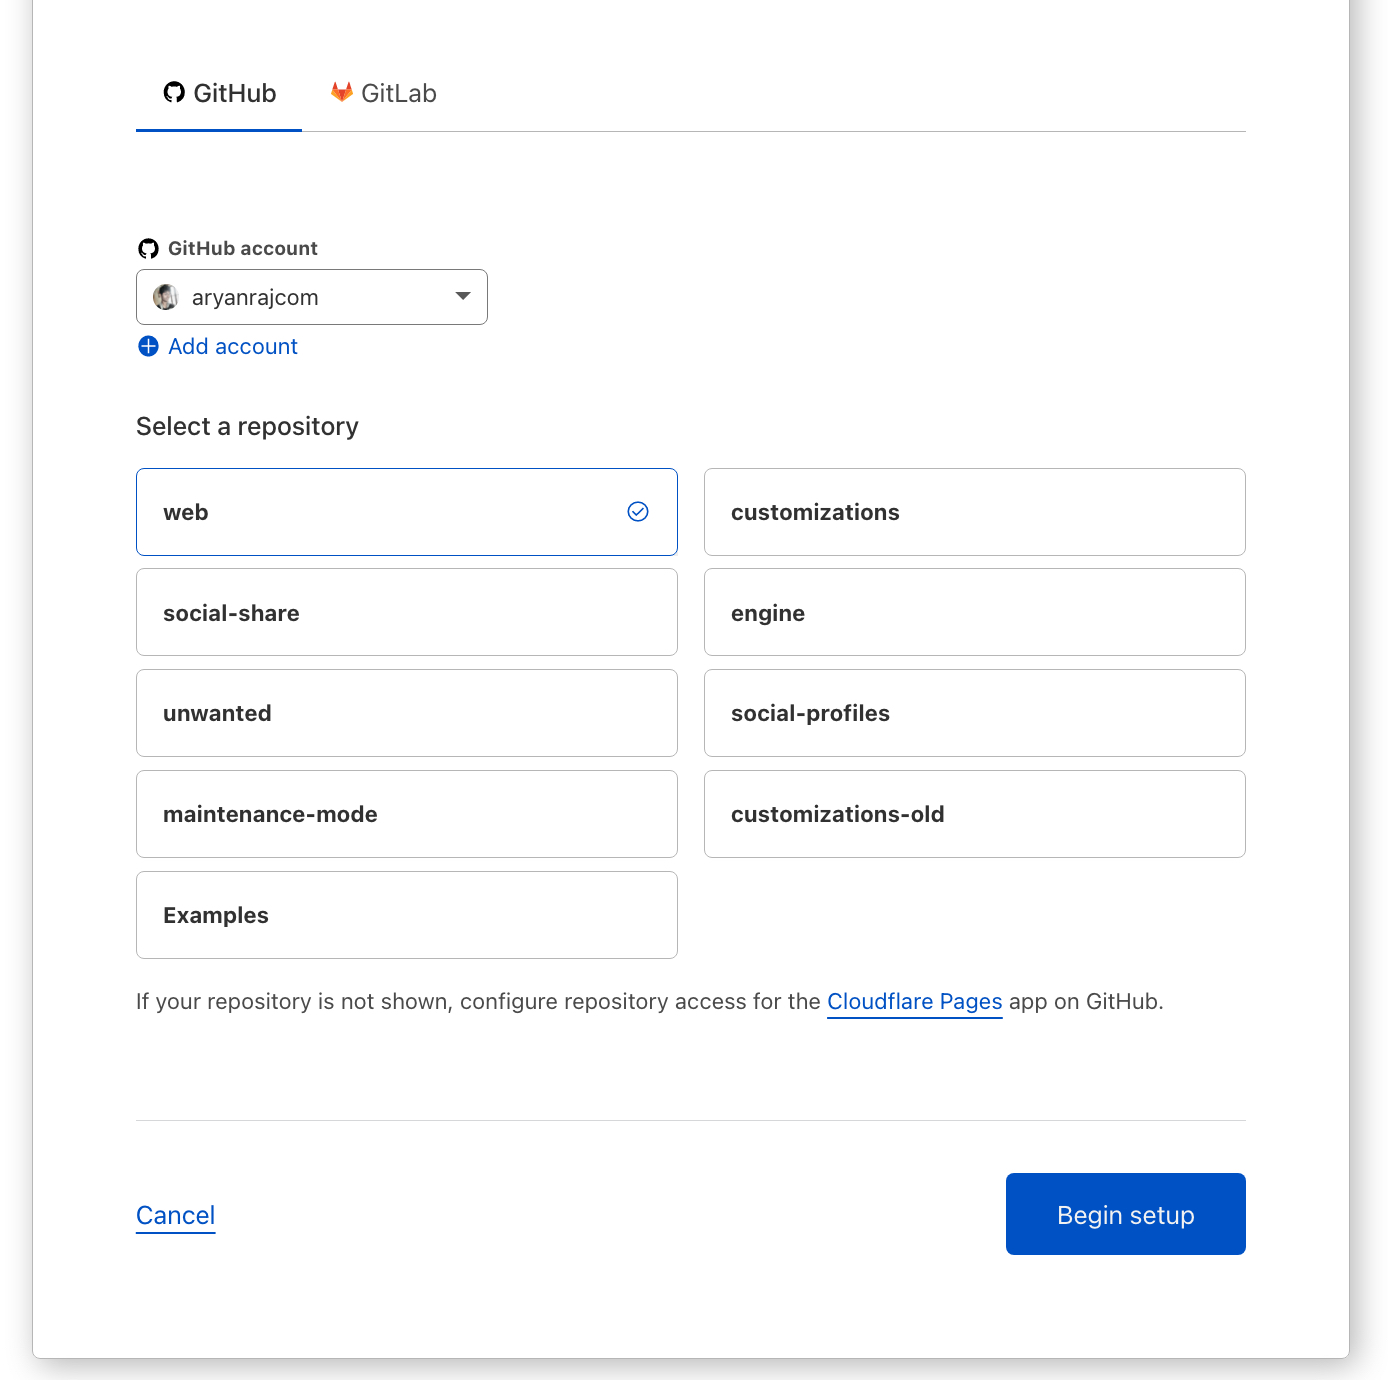
Authenticate Your Github or Gitlab profile. Select the newly created repository. Click on Begin setup button.
STEP 4
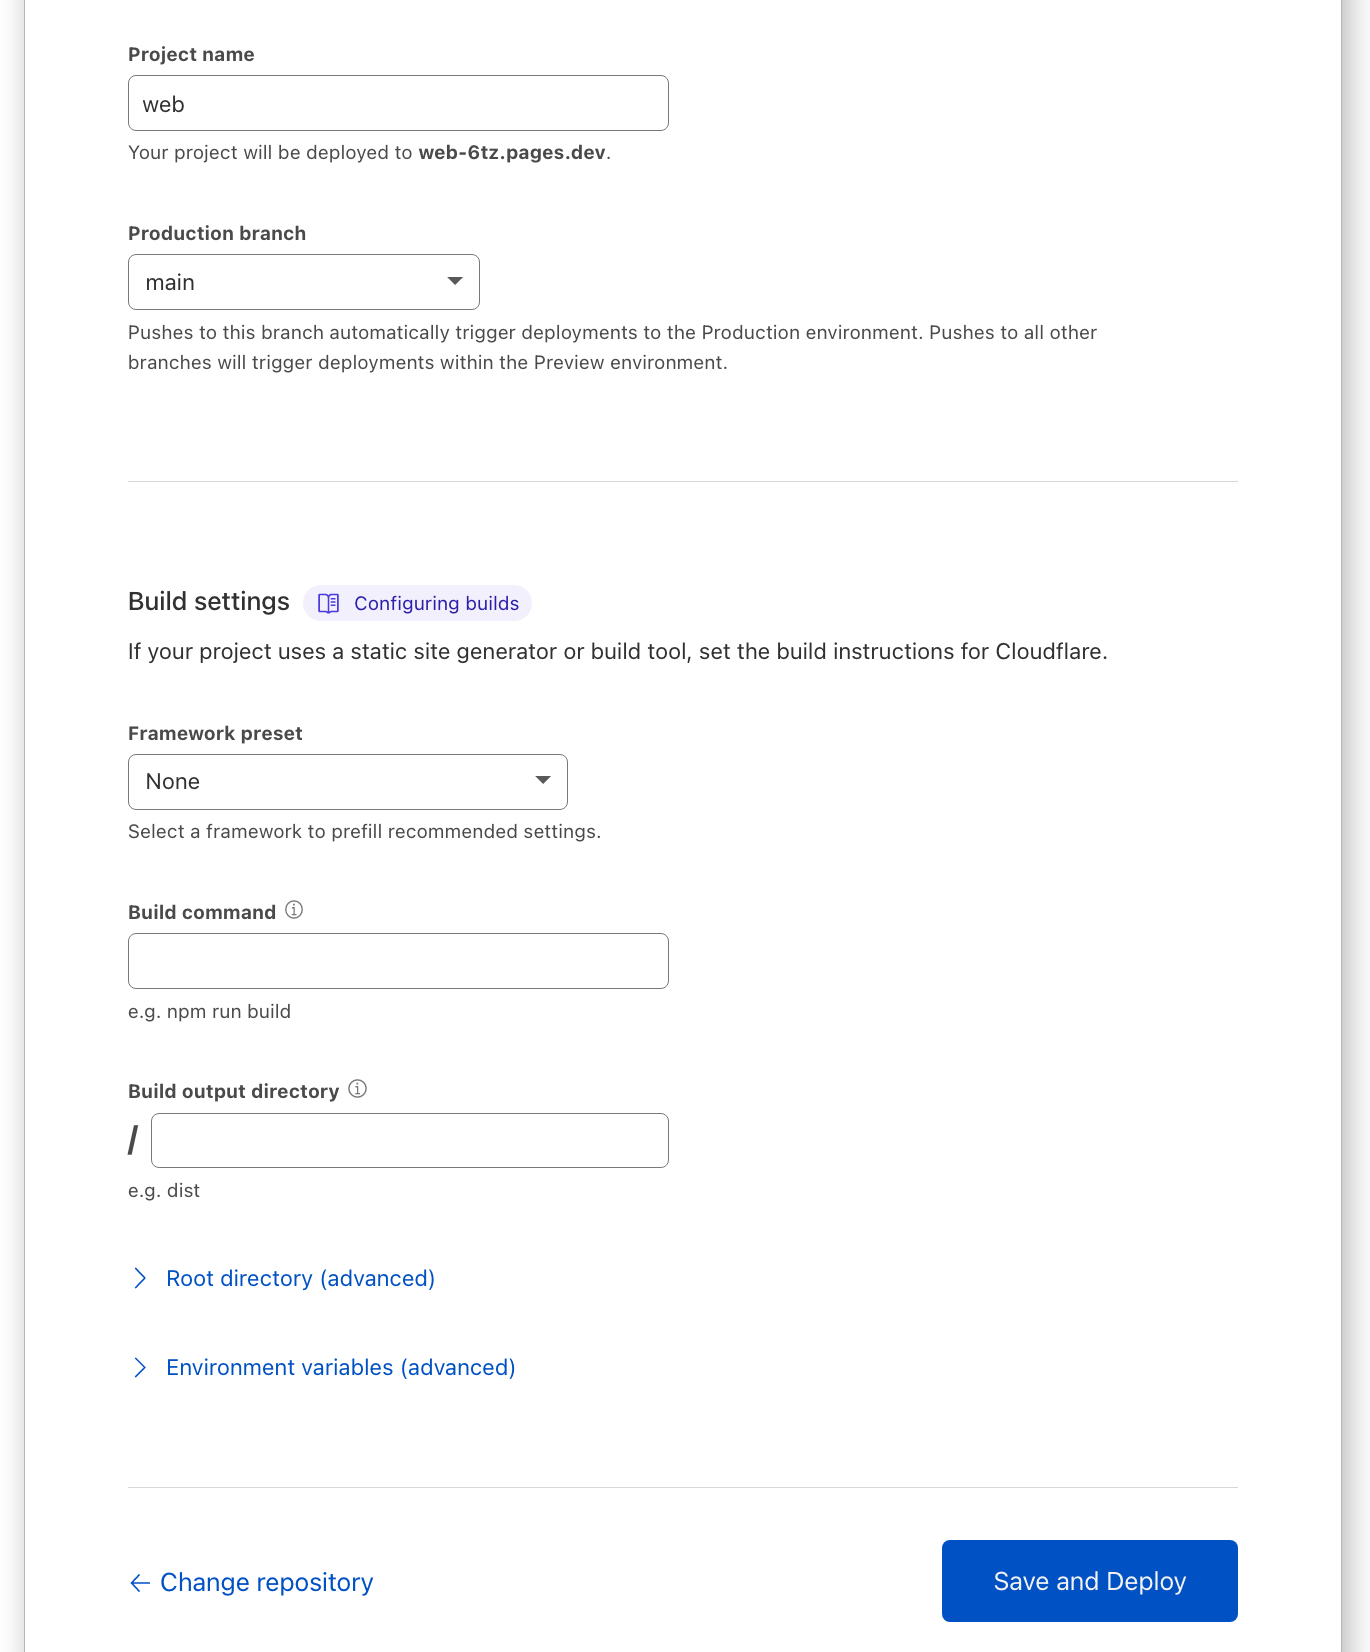
Keep the settings as default and click “Save and deploy”.
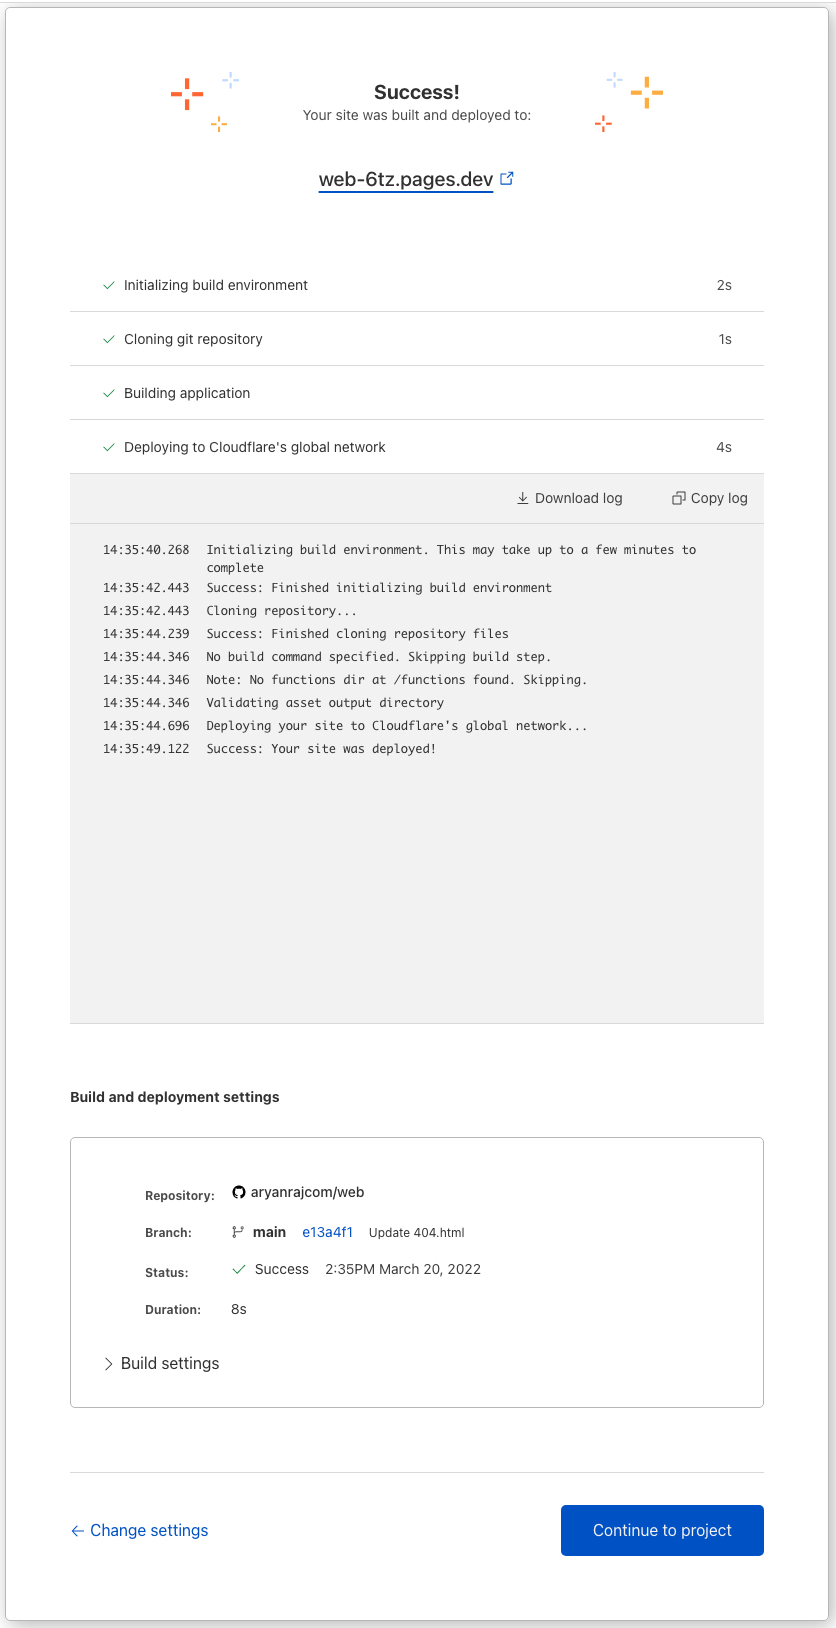
STEP 5
To Assign a custom domain, Head over to Pages > Click on Project Name > Custom Domains and copy the current hostname offered by Cloudflare.
Click “setup a custom domain” button and type your domain. Here I am using a subdomain.
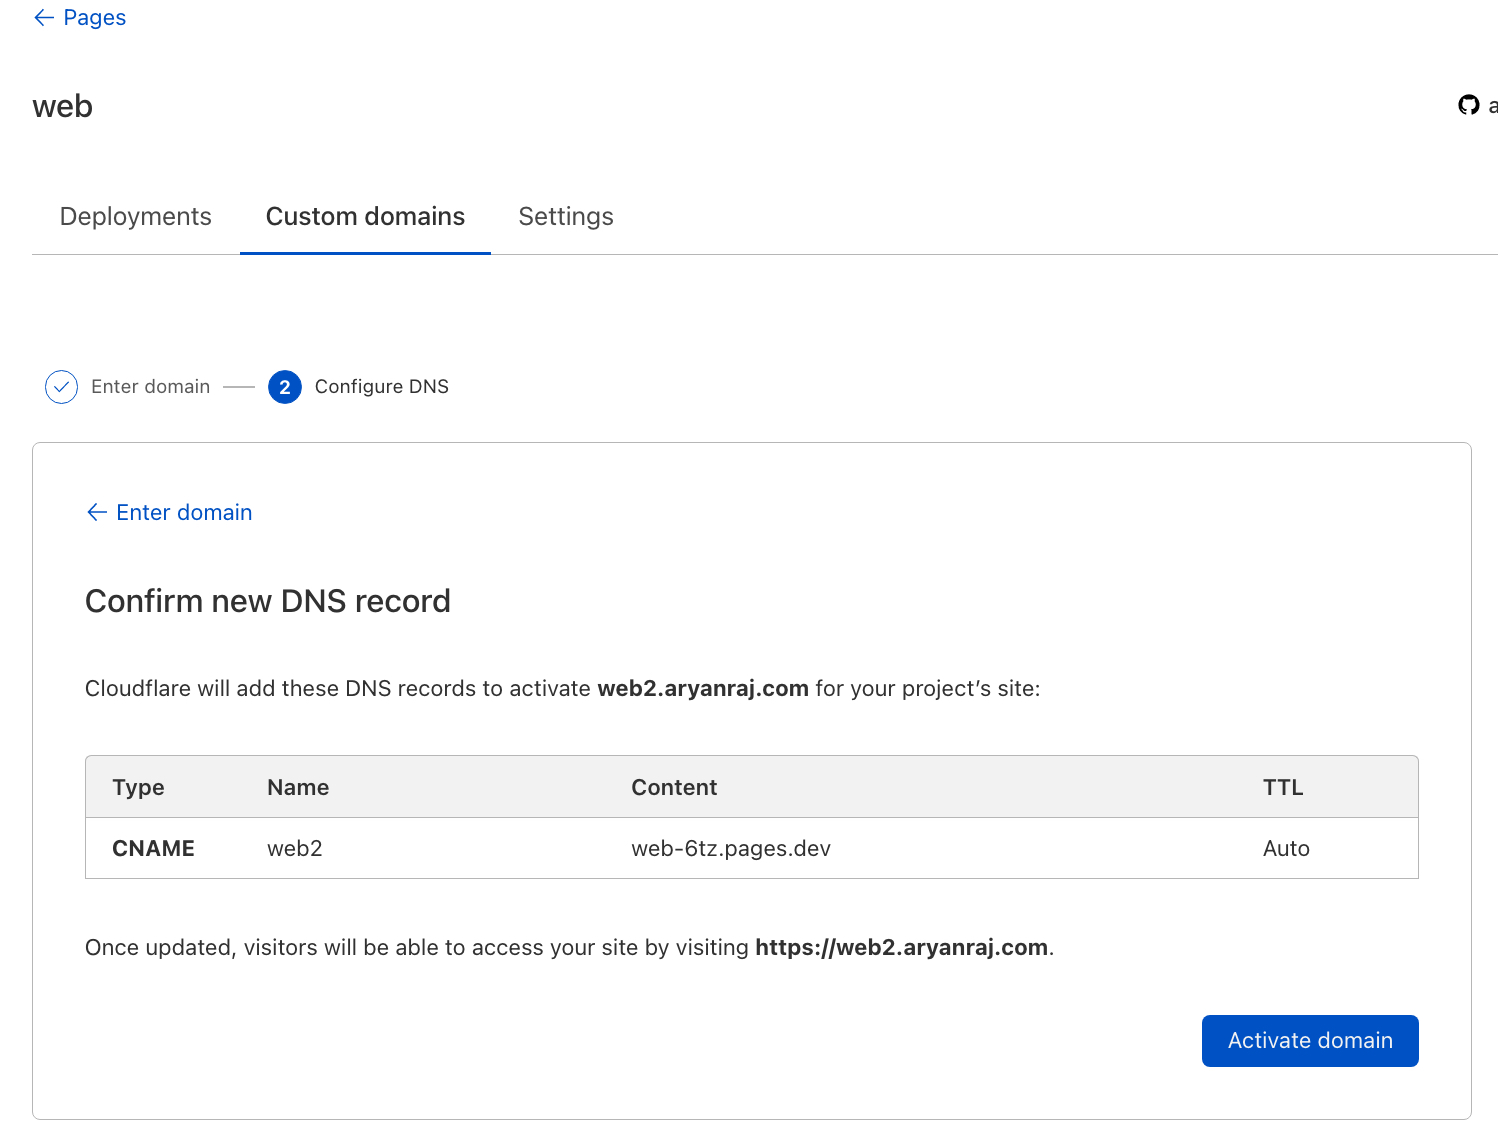
You will be offered to add a CNAME, add it in DNS, and Click “Activate Domain”. Cloudflare seems to add the CNAME automatically.
and done.
You can use the same Github/Gitlab repo to deploy it on other similar services mentioned at the beginning of the article. You can choose to use a different CNAME, or replacing the hostname will work.